Set up a free Nextjs blog with Notion and Tailwind in 10 min
- Published on
Github repository - Github repository with the codebase Default demo blog - Deployed from main branch My personal site - The source code that I use to power my website
What features are in the blog starter:
✨ Features
- ✅ Setup takes only a few minutes (single file config) 💪
- ✅ Newsletter subscription via Convertkit API
- ✅ Simple analytics with Umami
- ✅ Automatic OG social images with Tailwind template
- ✅ Automatic pretty URLs
- ✅ Excellent page speed
- ✅ Optimized for Next.js and Vercel
Getting started
Whenever I’m writing a new blog, like this one, I’m using notion for drafting. Wouldn’t it be cool just to be able to switch the tag in notion to published and have it live on your blog?
This will be a tutorial on how you can create your own blog powered by Notion, Nextjs, and Tailwind.
Notion setup
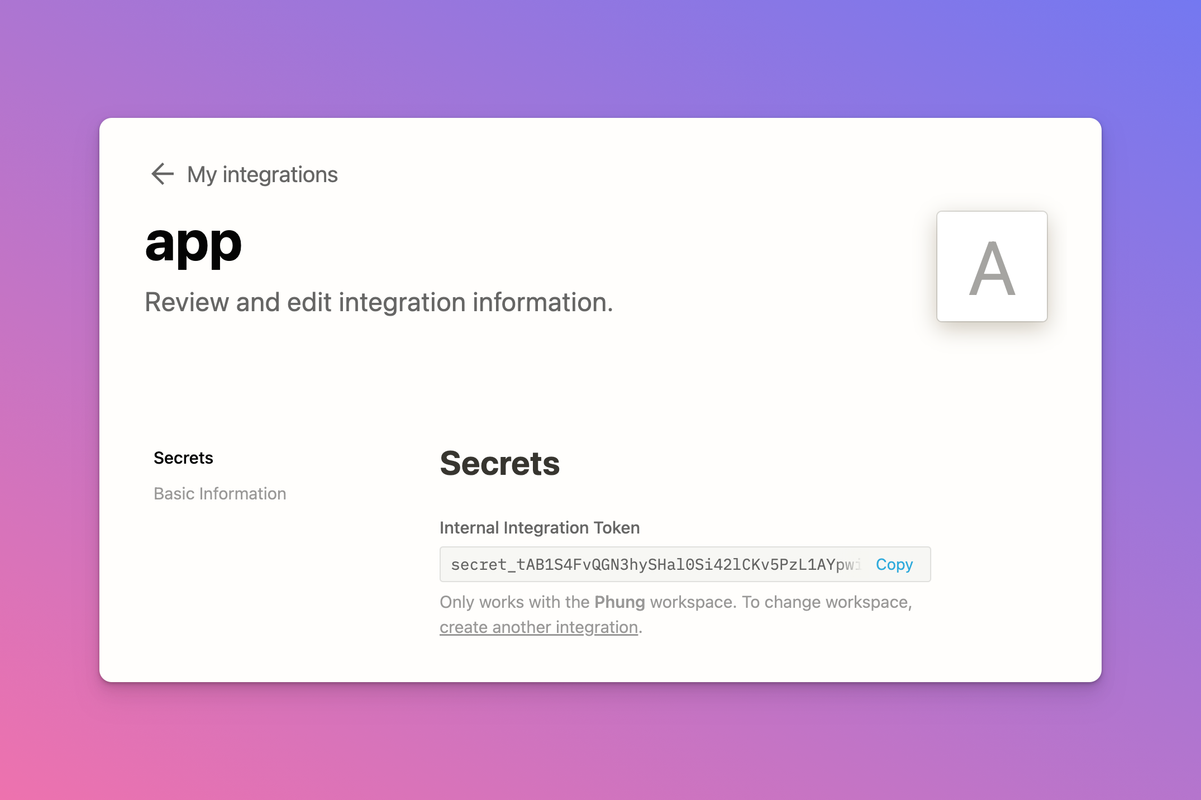
The first step would be to create an API key. You can follow the Notions Getting Started Guide where we will able to generate a new API key, which we will need for the env file as NOTION_SECRET
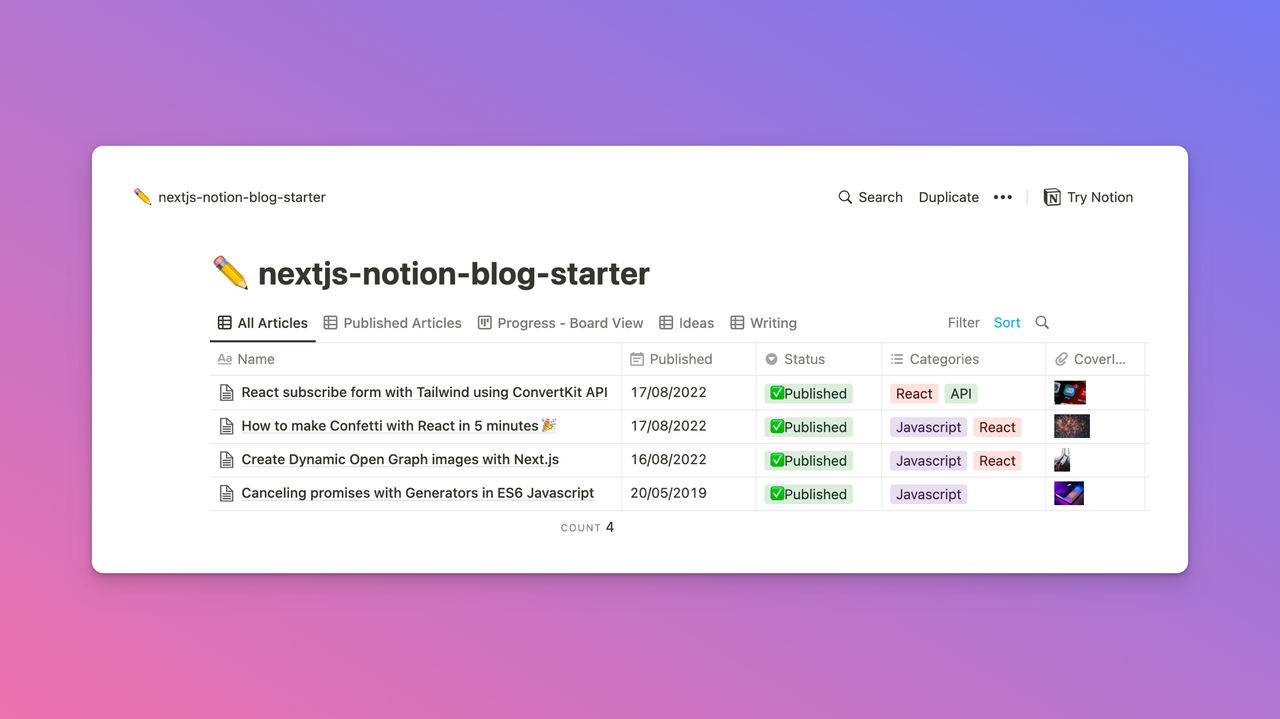
For posting new blog articles, I already made a read template, so we can simply duplicate it and start writing articles.
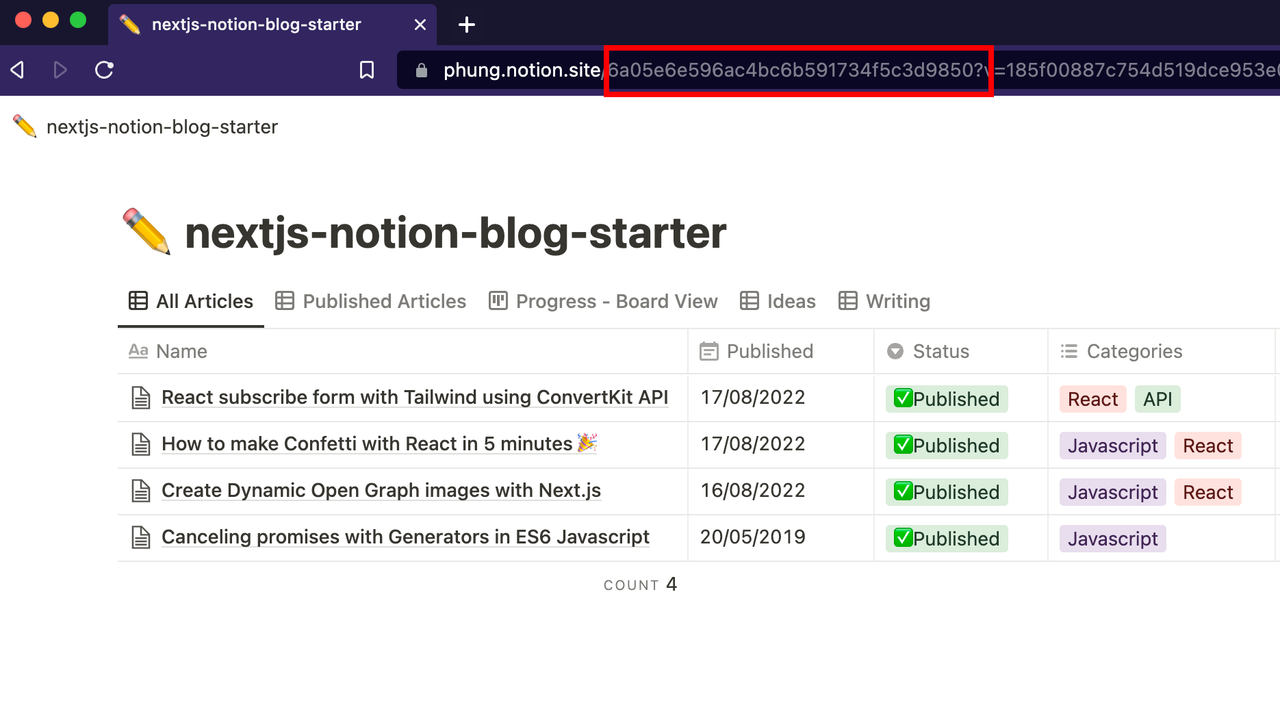
Once we cloned the blog template, we need DATABASE_ID which can be taken from the URL. It is the id after xxx.notion.site/
Forking the codebase
Click here to fork the code base and pull the repository
npm install && npm run
The first time you run the blog, you will get an error of missing API key, that’s because we haven't updated the .env file.

The last thing we need to do to make the blog work is to rename .env.example to env and update the variables
# Notion secret integration
NOTION_SECRET=
# Database id from cloned template
BLOG_DATABASE_ID=

# Convertkit subscription (Optional)
NEXT_PUBLIC_CONVERTKIT_FORM_ID=
NEXT_PUBLIC_CONVERTKIT_API_KEY=

# Umami analytics (Optional)
UMAMI_ID=
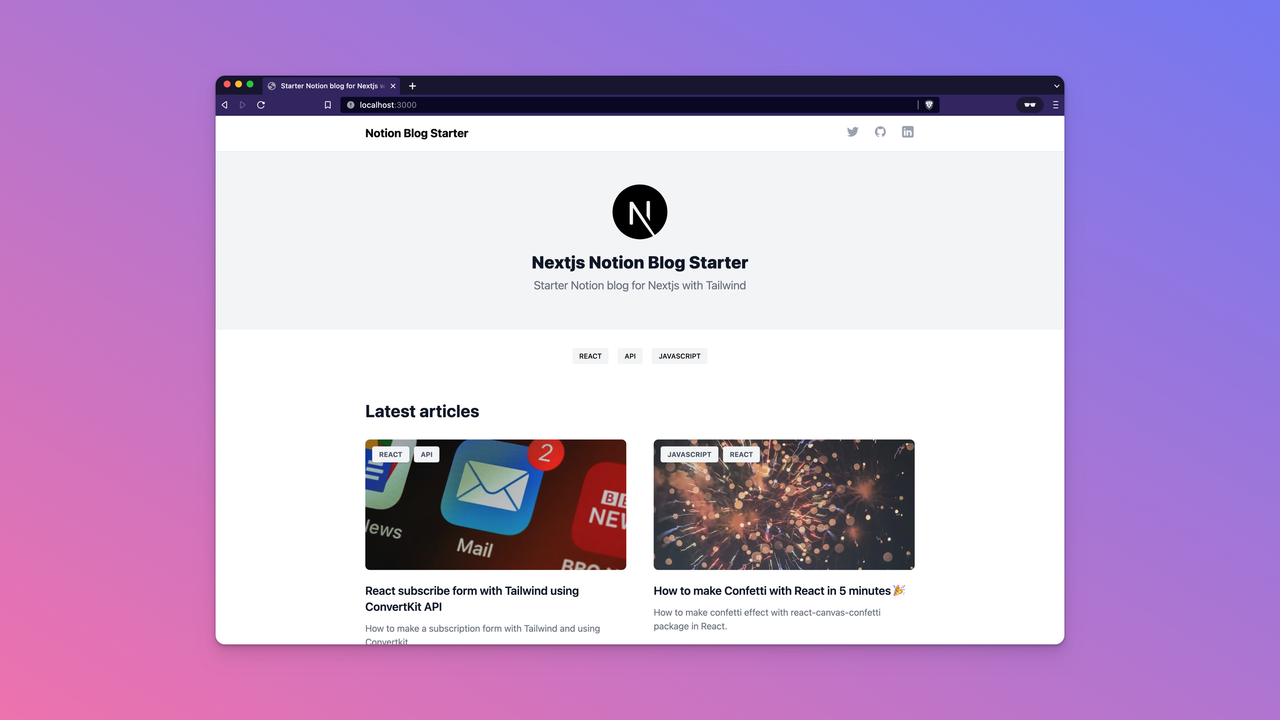
If we did everything right, we should be able to see the working blog 🎉
# Convertkit subscription (Optional)
NEXT_PUBLIC_CONVERTKIT_FORM_ID=
NEXT_PUBLIC_CONVERTKIT_API_KEY=

# Umami analytics (Optional)
UMAMI_ID=
If we did everything right, we should be able to see the working blog 🎉
A visual depiction of what is being written about
Thanks for reading
Let me know in the comments section how you feel about this generators series. If you love it, you know what to do! Share it with your friends and colleagues.
🌟 Stars on Github and feedback is appreciated! 👍
If you want me to cover some topics in the next post, DM me twitter @tuanphung_, or if you have any suggestions, feel free to comment below.
See ya next time and keep on hacking ✌